
Oh. I really wish I had some more tissue fitting issues to show you. But I haven’t really received any from you guys (I hope it’s because everything is fitting well?) and I can’t post the pictures from the fitting books – as that would be a violation of copyrights.
Anyway a few hints and tips:
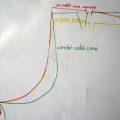
When you are evaluating your fit in the tissue paper, remember that wrinkles point to the problem, and that horizontal wrinkles are symptoms of things being to tight, while vertical wrinkles often mean that it’s too big in that area. Also wrinkles often point to a place where there is strain on the tissue. In the fitting books I’ve talked about before, there are plenty of illustrations showing different lines relations to different fitting issues.
That taken care of, we are ready to fit the waistband!
I have decided that I want my pair to sit a little (2 cm) lower on the waist. So I’m just chopping off 2 cm from the top on both front and back. And now it’s time to tissue fit the waist band.
As with the front and back, trace the pieces, leaving plenty of tissue at the side seams and centre front/back seams – especially if you had to add to the trouser pattern pieces.
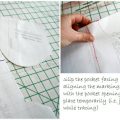
I’ve changed quite a lot on my waistline – with the dart width and my large waist + the changing of the hip curve, so I’m going to tissue fit the waistband pattern pieces with the trouser pattern pieces. Aligning the centre front and centre back, I’m pinning the waistband front and back pieces to the flat front and back trouser pattern pieces (pinning horizontally). It’s quite important that the front and back have been unpinned and perhaps ironed before they are placed flat for pinning the waistband pieces in place.
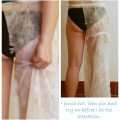
Now try on your tissue again and focus on your waistband in relation to your trouser front and back. You want the side seam to continue into the waistband in a nice curve, and you want to make sure that the centre front/back of the waistband pieces reaches your centre front/back. It’s really the same as the first tissue fitting. Pin to fit your shape, then take of your tissue and mark the new lines on the pattern.
That’s it!
Now we are done with the tissue fitting, we need to get the pattern ready for cutting the fabric:
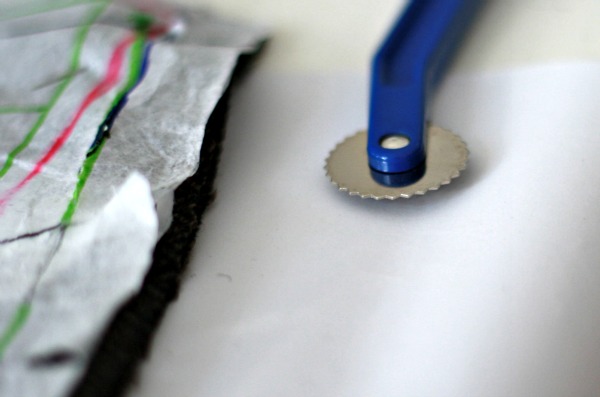
Start by taping the notches you made at the crotch curves closed again and then add your seam allowances. You’ll want about 2.5 cm (1″) seam allowance at the side seams and inseams and about 1.5 cm (or do 5/8″) seam allowance at the crotch seams and waistband seams. Mark the seam allowances on the tissue and cut out the pattern pieces.
Next we are going to cut and mark the fabric and sew to get ready for pinfitting.

Edited June 2016: I can’t remember why (probably just a lot of life stuff happening), but for some reason I never got around to making the post on pin fitting trousers. I might do it at some time – the idea is added to my list of blog posts – but then again, I might not (especially as I tend to have altered my trouser fitting method more in to muslin fitting since this series – you live and learn, right?) . So I just want to quickly say something about pin fitting.
What you do is: Sew the front pieces (pockets and fly + crotch seam), then sew the back pieces (yoke/darts + crotch). Pin the inseam and the side seams vertically and then fit them to your body. You can read a lot about it in the Pants for Real People-book that I mention in the Gather your Things post.


I enjoyed reading the trouser sew along. I learned a lot! Will you be doing a trouser version of Foundations of Fitting?
My new time
http://latex.xblog.in/?dispatch.amara
erotic screensavers erotic calendars adult erotic literature victorian erotic literature erotic boutiques
That’s what I was looking for. Very nice blog indeed, thank you admin
https://www.worldsbestcookiedough.com