
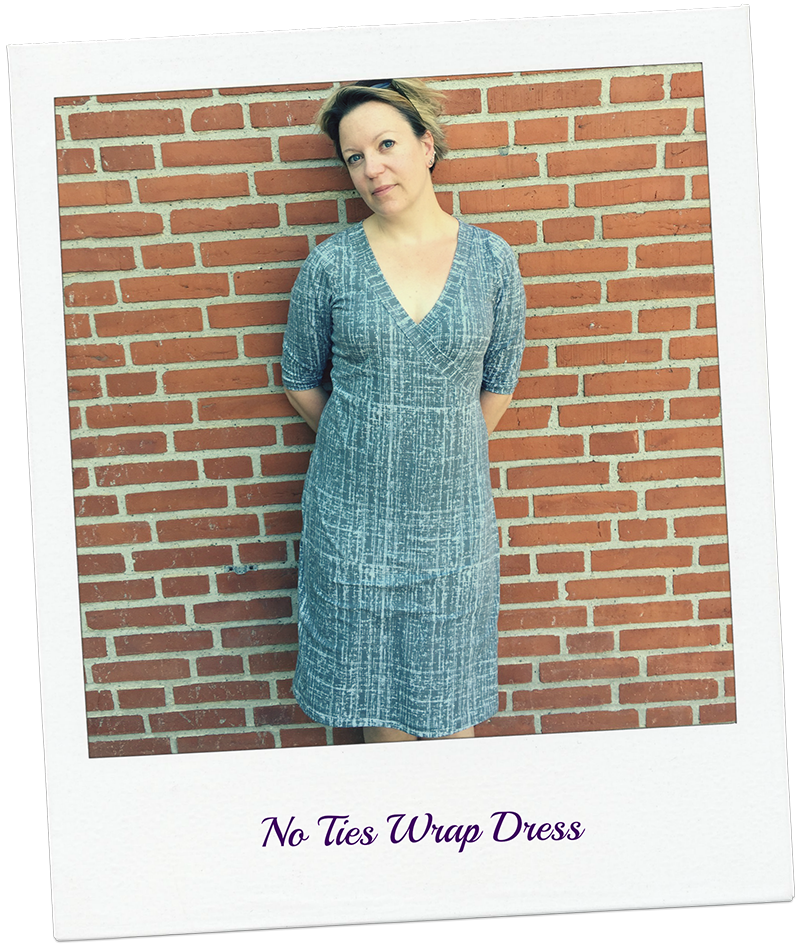
The simplest design-change – or pattern hack – you can make to the MariaDenmark Rachel Wrap Dress (apart from shortening it into a tunic or a top) is to make it ”faux wrap” or no-tie-wrap. This simply means, making a version that doesn’t have ties.
Instead of ties, you stitch the fronts in place so that they still have the wrap look (with the nice, flattering slanted line that gives to the design) but without the fuss of the ties.
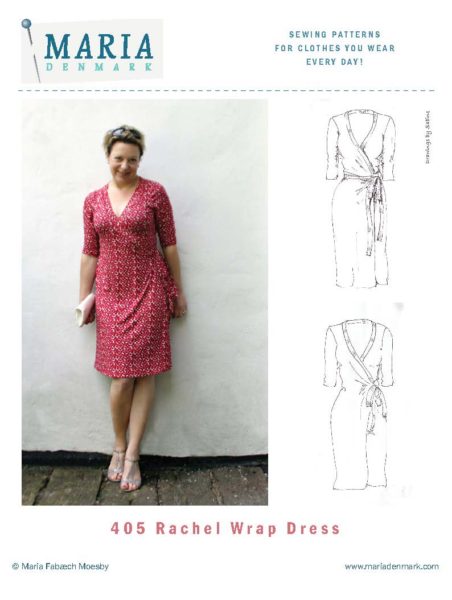
I am using the 405 Rachel wrap dress for this hack
To do this is, as I said, quite simple. But I still want to show it to you, because I might have some pointers as to how to make it work.
First, let’s look at the pattern.
When I drafted the wrap dress, I took away 2,5 cm (1”) from the side seam of the side where the ties go. I did this, because the fit is better in the tie version, if you don’t have too much fabric there.
So what we need to do, when making the no-tie wrap, is to add the missing part back:
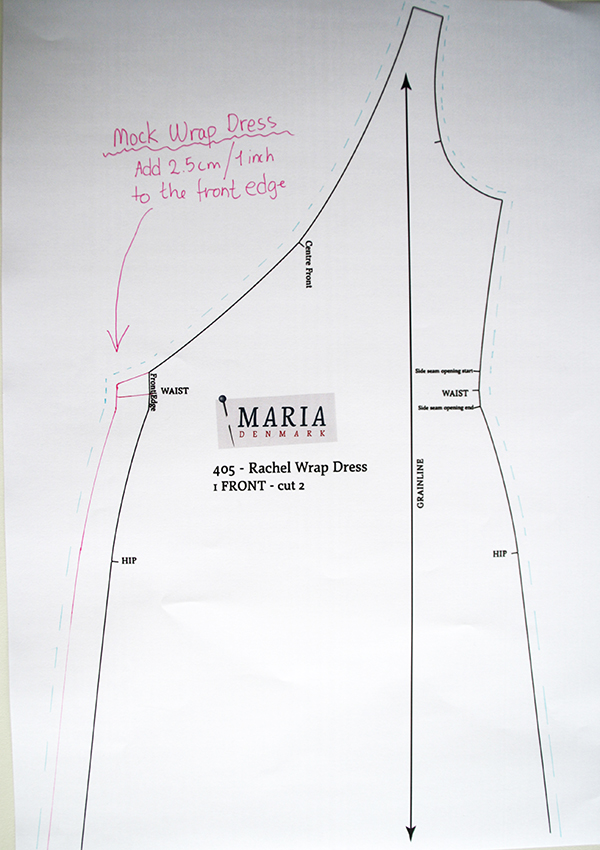
Add 2.5 cm to the front edge below the neckline.
Now. This of course also changes the length of the neckline, which affects the length of the neckline ribbing. So we need to adjust the ribbing pattern as well. If you add 2 cm (3/4”) to the ribbing pattern, you should be fine.
If you prefer, you could also measure the neckline and draft your own ribbing according to the stretch of the fabric. See how HERE
The sewing order of the dress will also change a tiny bit:
Skip the first section where you sew the ties, since you are not using them.
Sew the shoulder seams, right sides together, and press the seam allowances towards the back.

Fold and press the neckline ribbing in the fold line, wrong sides together.
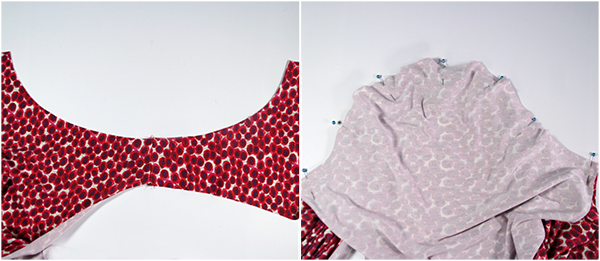
Pin the neckline ribbing to the neckline of the dress, matching notches for centre-front, shoulder seams and front edge. Pin from one front edge to the other, aligning the raw edge of the neckline with the raw edges of the ribbing.
Sew the ribbing to the neckline, using an elastic stitch and stretching the ribbing as you sew. Sew from one front edge to the other. Press the ribbing seam allowances into the dress.
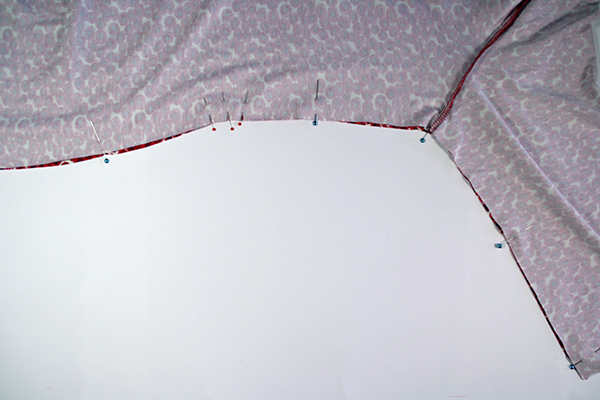
Place the two fronts on top of each other – as you will wear them, wrong side to right side. Baste the side seams of each side of the fronts together, using a long straight stitch on your sewing machine. This is to keep the fronts together while you sew the rest of the dress.
I also cut off 2 cm of the hem of the inner front because that makes it easier to hem the dress nicely.
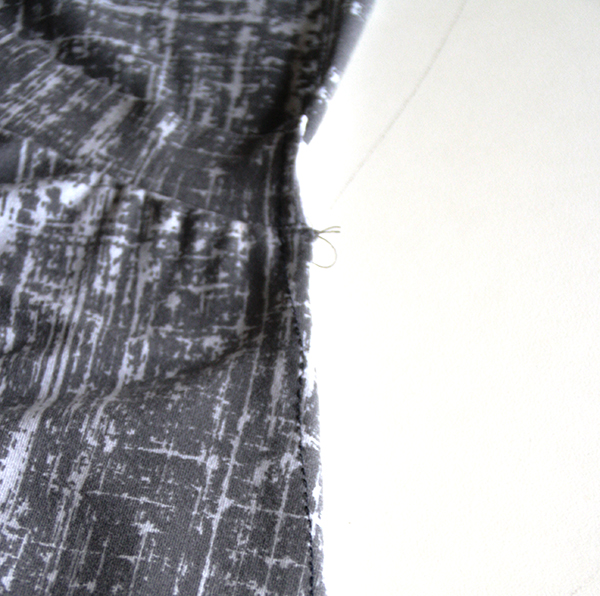
Baste the side seams of the front pieces together, to keep them in place while you finish sewing
Now set in the sleeves:
Pin the sleeves to the armscyes flat, right sides together, matching shoulder notch with shoulder seam and front sleeve notch to notch on the front armscye. Sew the sleeves to the dress. Press the seam allowances into the sleeves.
Set in the sleeves flat.
Pin the side- and sleeve seams, right sides together, matching the underarm seams and the notches for waist and hip. Stitch and press the seam allowances towards the back.
Pin and sew the side and sleeve seams in one stretch
Fold and press the hem under and stitch from the right side 2 cm from the edge.
Fold and press the sleeve hems under and stitch, using an elastic stitch or a twin needle, 2 cm from the edge.
And that’s it – your faux wrap dress is done.


[instanow hashtag= rachelwrapdress show_hashtag= 1 window= 1 logo= 1 style= default media= 18 link= page layout= grid columns= 3 lm_num= 12 ]


Trackbacks/Pingbacks