
Fitting and shaping a princess seam
Princess seams are wonderful!
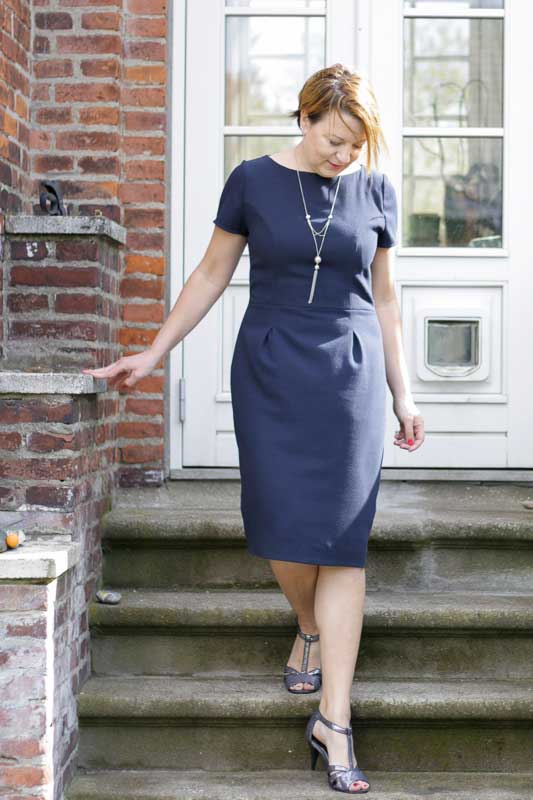
They look nice! Moreover, a garment with princess seams (such as The Little Basic Dress (MariaDenmark 409) or the Trench Coat in Sewing Life Magazine 1) is easier to fit because you can adjust the shaping in the seams. Even if you don’t have that much fitting experience.
All it takes is a quick muslin and some pins. And a pencil and ruler for adjusting the pattern.
In the following tutorial, I’m fitting a dress. So I’m just wearing underwear under the muslin.
If you fit a coat, wear the clothes you would normally wear under the coat. That way, you are sure that your finished coat will have enough room.
Start by watching the quick video to get an iea of the process, then continue following the picture guides below.
Let’s get started Fitting the Princess Seams on The Muslin!
Moving the bust point and shaping the princess line:
The first thing I noticed when trying on the muslin was that the curve of the princess line didn’t go over my bust point.
I marked the bust point with a pin.

The second thing was that there seemed to be a little too much fabric under the bust.
Be careful when ordering drugs online, read this article on buying cheap generics online.
Since we have many seams to play with, I decided to use them to shape the fitted dress to my body.
I pinned the fabric away at the princess seams and in the side seams.
We also traced the new princess seam lines on to the muslin, making them easier to later transfer to the pattern.

Transferring the princess seam adjustments to the pattern:
We measured the muslin and transferred the adjustments to the pattern simply by measuring, comparing, and tracing the new curves on the side piece and the front piece.
In my case, I need to add to the side piece and take something away from the front. I also marked the new bust point on the pattern and made sure the seams have the same length.
I also took in a bit from the side seam.
This is what it looks like on the pattern:

Beyond the princess seams – Swayback and shaping of center back:
As always (because I have what is sweetly called a “protruding backside” in the fitting books) I had folds of fabric on the back.
Luckily, this issue is super easy to deal with: Pin away the excess fabric and do a sway-back alteration as seen in THIS BLOG POST.


My upper back is curved (damn you computers..), so I also needed to shape the center-back seam at the top of the seam a bit.
With alterations, the back piece ended up looking like this:

TIP FOR LARGER BUST
Do you have a larger than average bust?
It’s super easy to fix in a princess seam:
If the top is too tight across the bust, rip the princess seams at the bust point, and insert (pin) a scrap of fabric underneath.
Then draw the new seam line on the fabric scrap and measure how much you need to add to either side of the seam line.
That way, you are not only moving the seam as I did but also adding more room for your bust.


Great tutorial. As always. Thanks
I have only done a little fitting, and I am always worried that if I punch out fabric at the side, my garment will be too tight.
Thanks for doing this tutorial. I have that rounded upper back as well. I’d like to ask you: Why did you change the grainline of your back piece and how did you decide on the direction of it?
This looks like an easier way of fitting princess seams compared to what I have done before (cutting the fullest part of the bust on the pattern and lowering it). I am pretty new to sewing and love the look of princess seams. I know that the wrinkles above the apex are a sign that it needs adjustment, but where is the apex supposed to be on a princess seam? Is it directly on the seam? My adjustments always seem like a rough guess and this method seems more exact for a better fit.
Hi Sarah
I like to have the bust point (apex) on the fullest point of the princess seam. Also, the grainline is placed perpendicular to the hem in this case
Hi, I am doing a muslin for a princess seam starting in the shoulders not armhole
and I need to add length to the pattern back to take into consideration my rounded top
of back. can you advise please?